
The Internet Is Quieter Now
I’ve understood DNS for years. As a systems administrator, it’s one of those technologies you interact with almost daily but rarely think twice about. If name resolution works, you move on.
It wasn’t until I started building out my home lab that I realized DNS could be much more than a way to translate domain names into IP addresses.
As my network grew, so did my curiosity. I wanted more visibility into what my devices were doing. I wanted another layer of security that protected every device on my network. Most importantly, I wanted control over what was allowed to leave my network in the first place.
That’s what led me to NextDNS.
What I gained from switching
-
Privacy One of the first things I noticed was just how many tracking requests disappeared. Instead of letting advertising and analytics domains resolve automatically, NextDNS simply blocks many of them before a connection is ever established.
-
Security Because every device relies on DNS, blocking known malicious domains at that layer adds protection across my entire network. It isn’t a replacement for good security practices, but it’s another layer that works quietly in the background.
-
Control One of my favorite features is the ability to create custom allowlists and blocklists. Whether it’s blocking specific services, restricting categories of websites, or overriding DNS records for testing, I can tailor the behavior to fit my network instead of accepting the default.
-
Visibility The analytics quickly became my favorite part. I can see which devices are making requests, which domains are being blocked, and identify unusual activity that I probably never would have noticed otherwise. It’s the kind of visibility I didn’t realize I was missing until I had it.
x
I expected the setup to be more involved than it actually was.
Instead, it took just a few minutes to create a profile, choose the blocklists I wanted, and point my devices to NextDNS. From there, it quietly started doing its job in the background.
Step 1: Create an Account
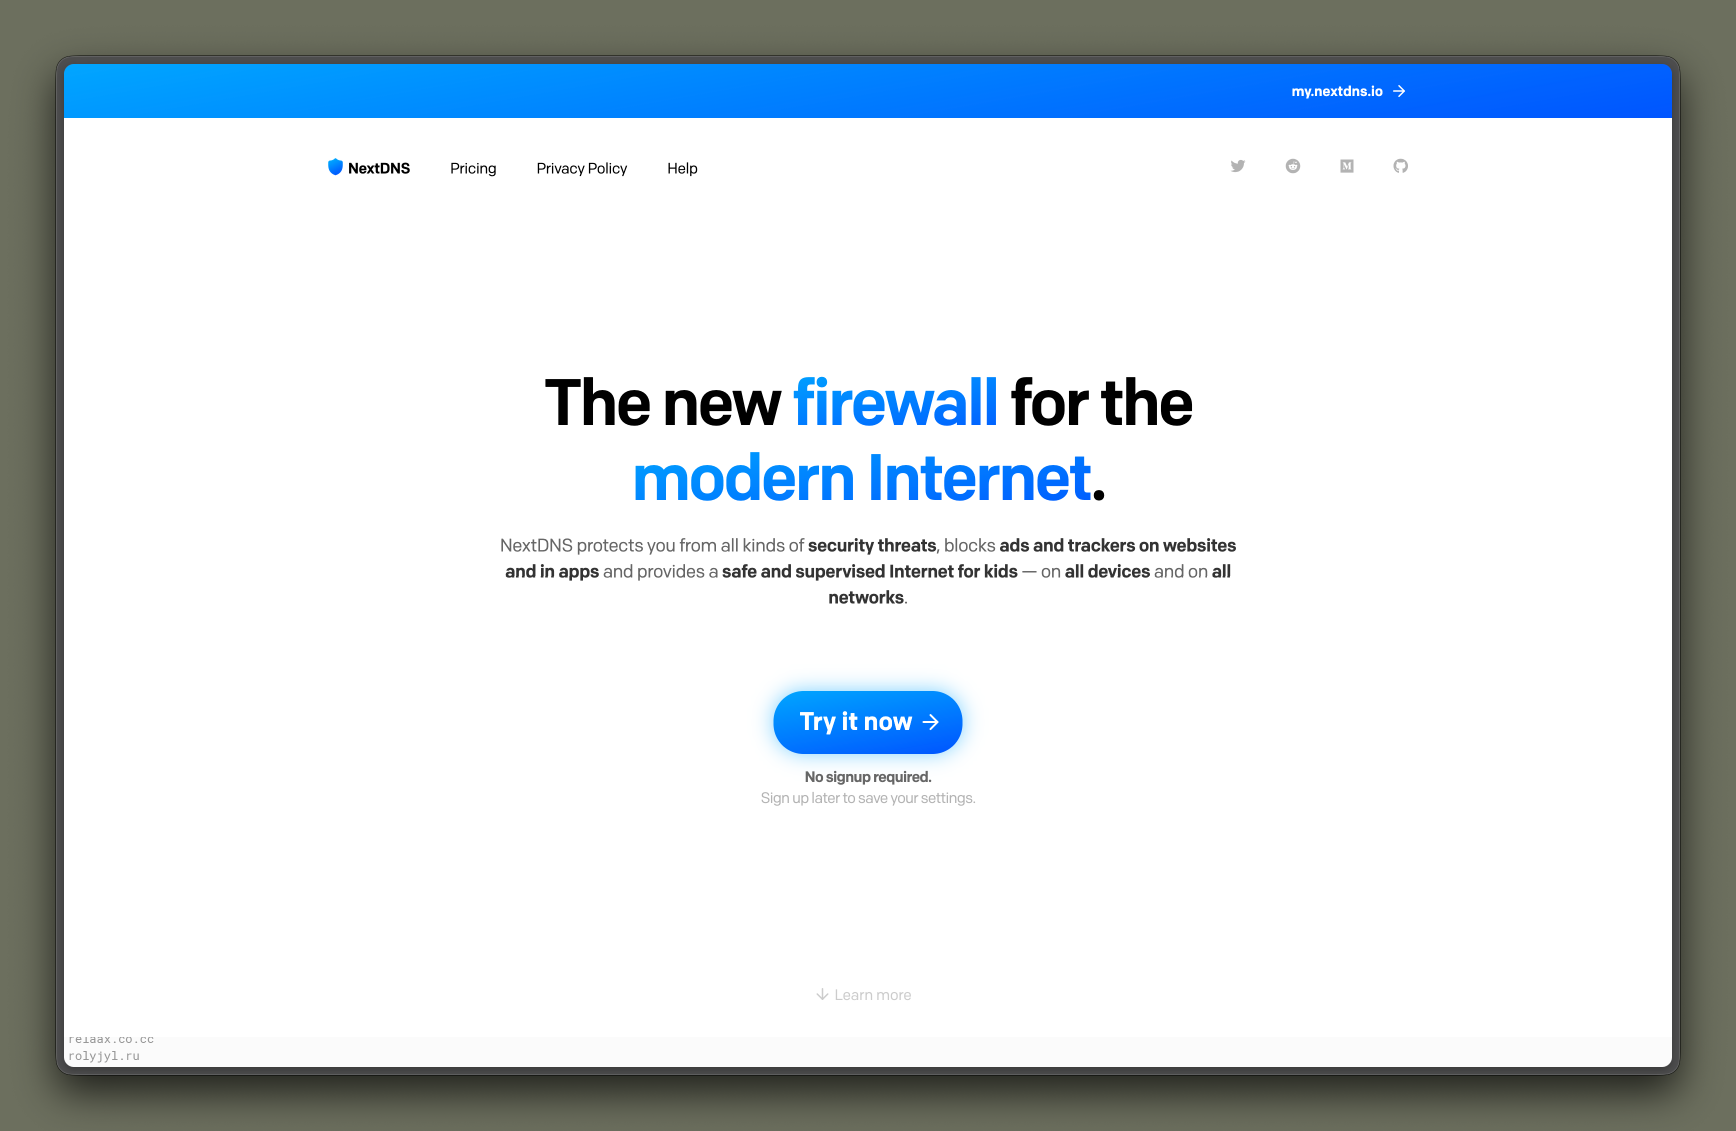
It’s free to get started, with the option to upgrade later if you need additional features or a higher query limit.
After creating your account, you’ll be taken to the NextDNS dashboard.
This is where you’ll configure your profile, enable security and privacy features, create custom rules, and view analytics for your DNS traffic. Most of the time, you’ll only need to visit it when you want to make changes or review what’s happening on your network.
Step 2: Configure DNS Settings
NextDNS gives you step-by-step instructions for setting it up on different devices. Here’s how to do it on some common platforms:
Windows
Open Network Settings and select your network adapter.
In the DNS settings, enter your two NextDNS IP addresses:
45.90.28.0 and 45.90.30.0. These are just examplesSave the settings, and you’re done!
Android
Go to Wi-Fi settings and select your network.
Under DNS settings, replace the default DNS with the NextDNS addresses.`
iOS
Open Safari on your iPhone or iPad.
-
Visit the NextDNS Setup page.
-
Under the “Configuration” tab, select “iOS”.
-
Tap “Install Profile” to download the NextDNS configuration profile.
- When prompted, tap “Allow” to download the profile.
-
Go to Settings > Profile Downloaded (or General > Profile).
- Tap Installin the top-right corner.
-
Enter your device passcode, if required, and tap Installagain.
- Tap Done to complete the installation.
Or in my case, Unify
- Go to Internet -> WAN Settings
- Scroll to DNS Server, uncheck Auto, and paste your NextDNS address
Step 3: Set Up Custom Blocklists
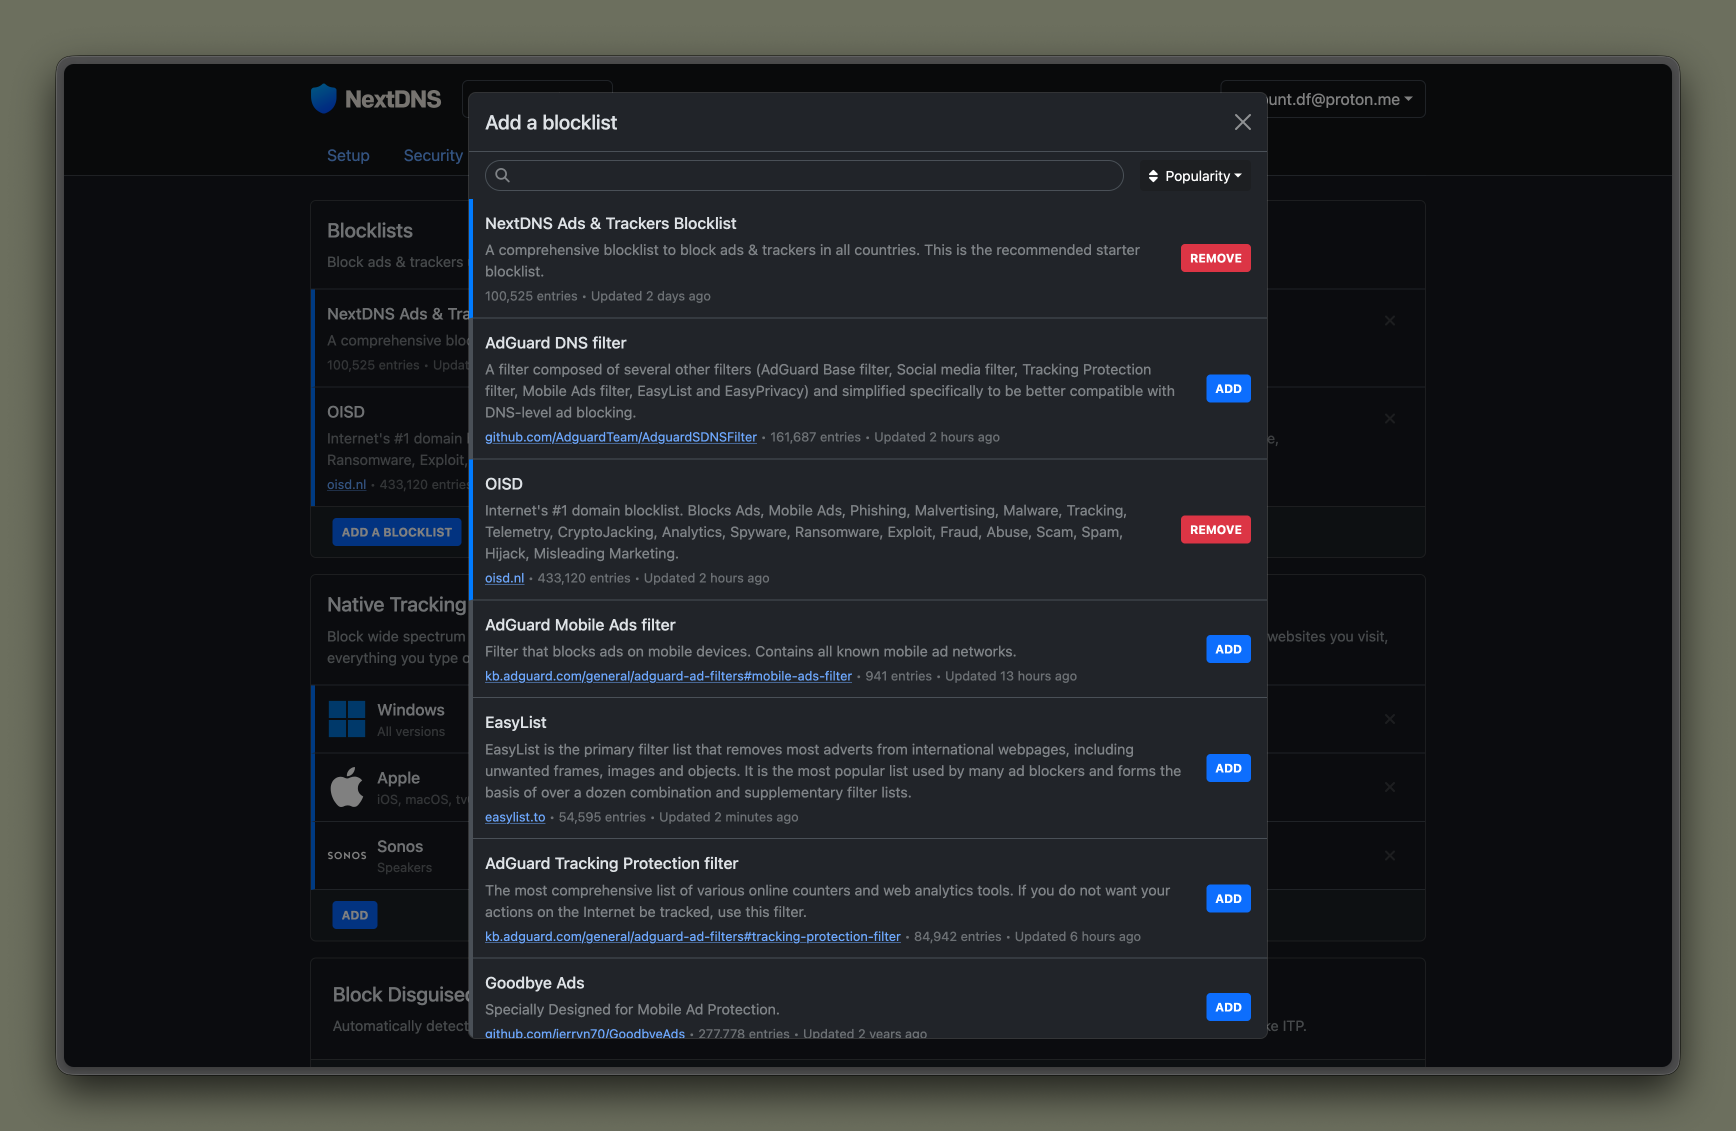
The default configuration is already excellent, and for most people it’s more than enough. I left it alone for a while before I started making changes.
Eventually, though, I wanted more control.
I wanted to block additional advertising networks, tighten privacy a little further, and stop certain services from reaching domains I simply didn’t trust. That’s where custom blocklists came in.
What Is a Blocklist?
At its core, a blocklist is exactly what it sounds like: a list of domains your DNS server refuses to resolve.
If a domain appears on one of your blocklists, your devices never establish a connection to it. Instead of relying on your browser or an extension to block content after it loads, the request is stopped before it ever leaves your network.
For me, that means fewer trackers, fewer advertisements, fewer unnecessary connections, and one more layer of protection running quietly in the background.
The Best Blocklists (So You Don’t Have to Google Them)
There are a ton of blocklists out there, but here are some of the best ones:
-
🛡️ Hagezi Pro++
Great balance of privacy, security, and ad-blocking.
-
🚫 OISD
Lightweight but effective, perfect for most users.
-
🔒 1Hosts Pro
More aggressive, ideal for hardcore privacy fans.
-
📵 Steven Black’s Blocklist
Well-maintained and beginner-friendly.
You can stack multiple blocklists together if you want even more aggressive filtering. Just don’t go overboard, or you may find yourself troubleshooting websites that no longer work.
Step 4: Analyze Your Data
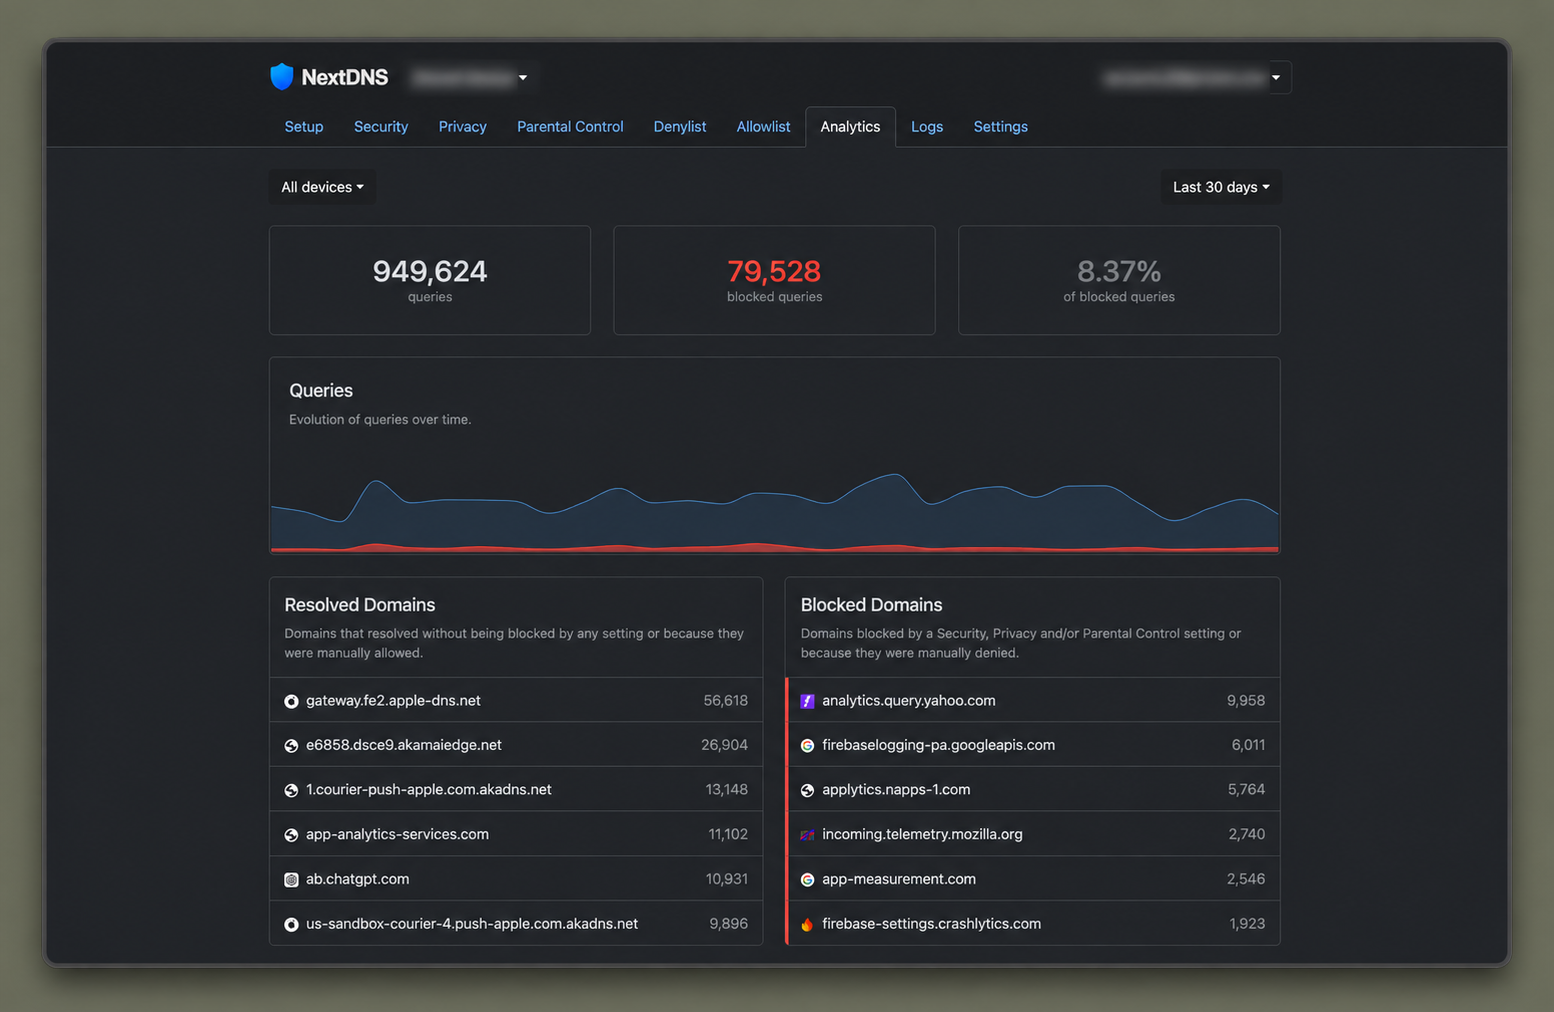
The coolest part about NextDNS?
The analytics.
It’s like having a detailed report card on your internet usage.
You can see which domains are trying to track you or serve you ads, and you can adjust your settings accordingly.
One Change, Every Device
While you can configure NextDNS on individual devices, I chose to set it up on my router instead.
That one change meant every device on my network automatically benefited from the same DNS policies, whether it was a laptop, phone, smart TV, game console, or IoT device. There was no need to configure each device individually.
The process is straightforward. Sign in to your router’s management interface, locate the DNS settings, and replace your existing DNS servers with the NextDNS addresses assigned to your profile.
From that point on, your router handles DNS resolution for every device connected to your network, giving you consistent privacy, security, and filtering across your entire home.
Is NextDNS Worth It?
For me, absolutely.
I didn’t switch to NextDNS because I wanted another dashboard or another privacy tool. I switched because I wanted greater visibility into my network, more control over how my devices communicated with the internet, and another layer of security that worked quietly in the background.
Months later, it’s become one of those services I rarely think about anymore, and that’s probably the highest compliment I can give it. Once it was configured, it simply did its job.
It won’t replace good security habits, and it won’t solve every privacy concern overnight. What it does provide is a solid foundation that protects every device on my network while giving me insight into what’s happening behind the scenes.
If you’re already running a home lab or simply want more control over your network, NextDNS is well worth exploring. It’s one of those rare tools that’s easy to deploy, easy to maintain, and difficult to imagine living without once you’ve experienced what it can do.