
I always knew I’d end up self-hosting. It just seemed like the next step, even if it sounded a bit nerdy at first.
Something reserved for folks with server racks in their basement and tattoos on their arms (I have both). But here I was, staring at my overflowing iCloud account and thinking, “There has to be a better way."
For years, I kept my files scattered across cloud providers and even an old external hard drive I barely trusted. One day, I decided enough was enough—I needed a centralized, private space to store my data.
That’s when I stumbled upon Nextcloud, and my journey into self-hosting began.
Today, I’ll show you how I set it up on Unraid—and how you can too, even if the word “Docker” makes you a little nervous.
Except you own it. You control it. And it doesn’t send you monthly reminders to upgrade your storage.
With Nextcloud, you can host your own files, calendars, and even photos, all while keeping them safe on your own server.
No third parties. No ads. Just a little slice of cloud storage heaven that’s entirely yours.
Now, why Unraid? Well, I already had a Plex server running on it, and its Docker support makes hosting apps ridiculously easy.
Plus, Unraid’s interface is perfect for someone like me—someone who knows enough to be dangerous but appreciates a big friendly “Install” button.
Step 1: Set Up the Database (Don’t Panic!)

Go back to the Apps tab and search for “MariaDB” (a popular database for Nextcloud).
Step 2: Create a share for Nextcloud
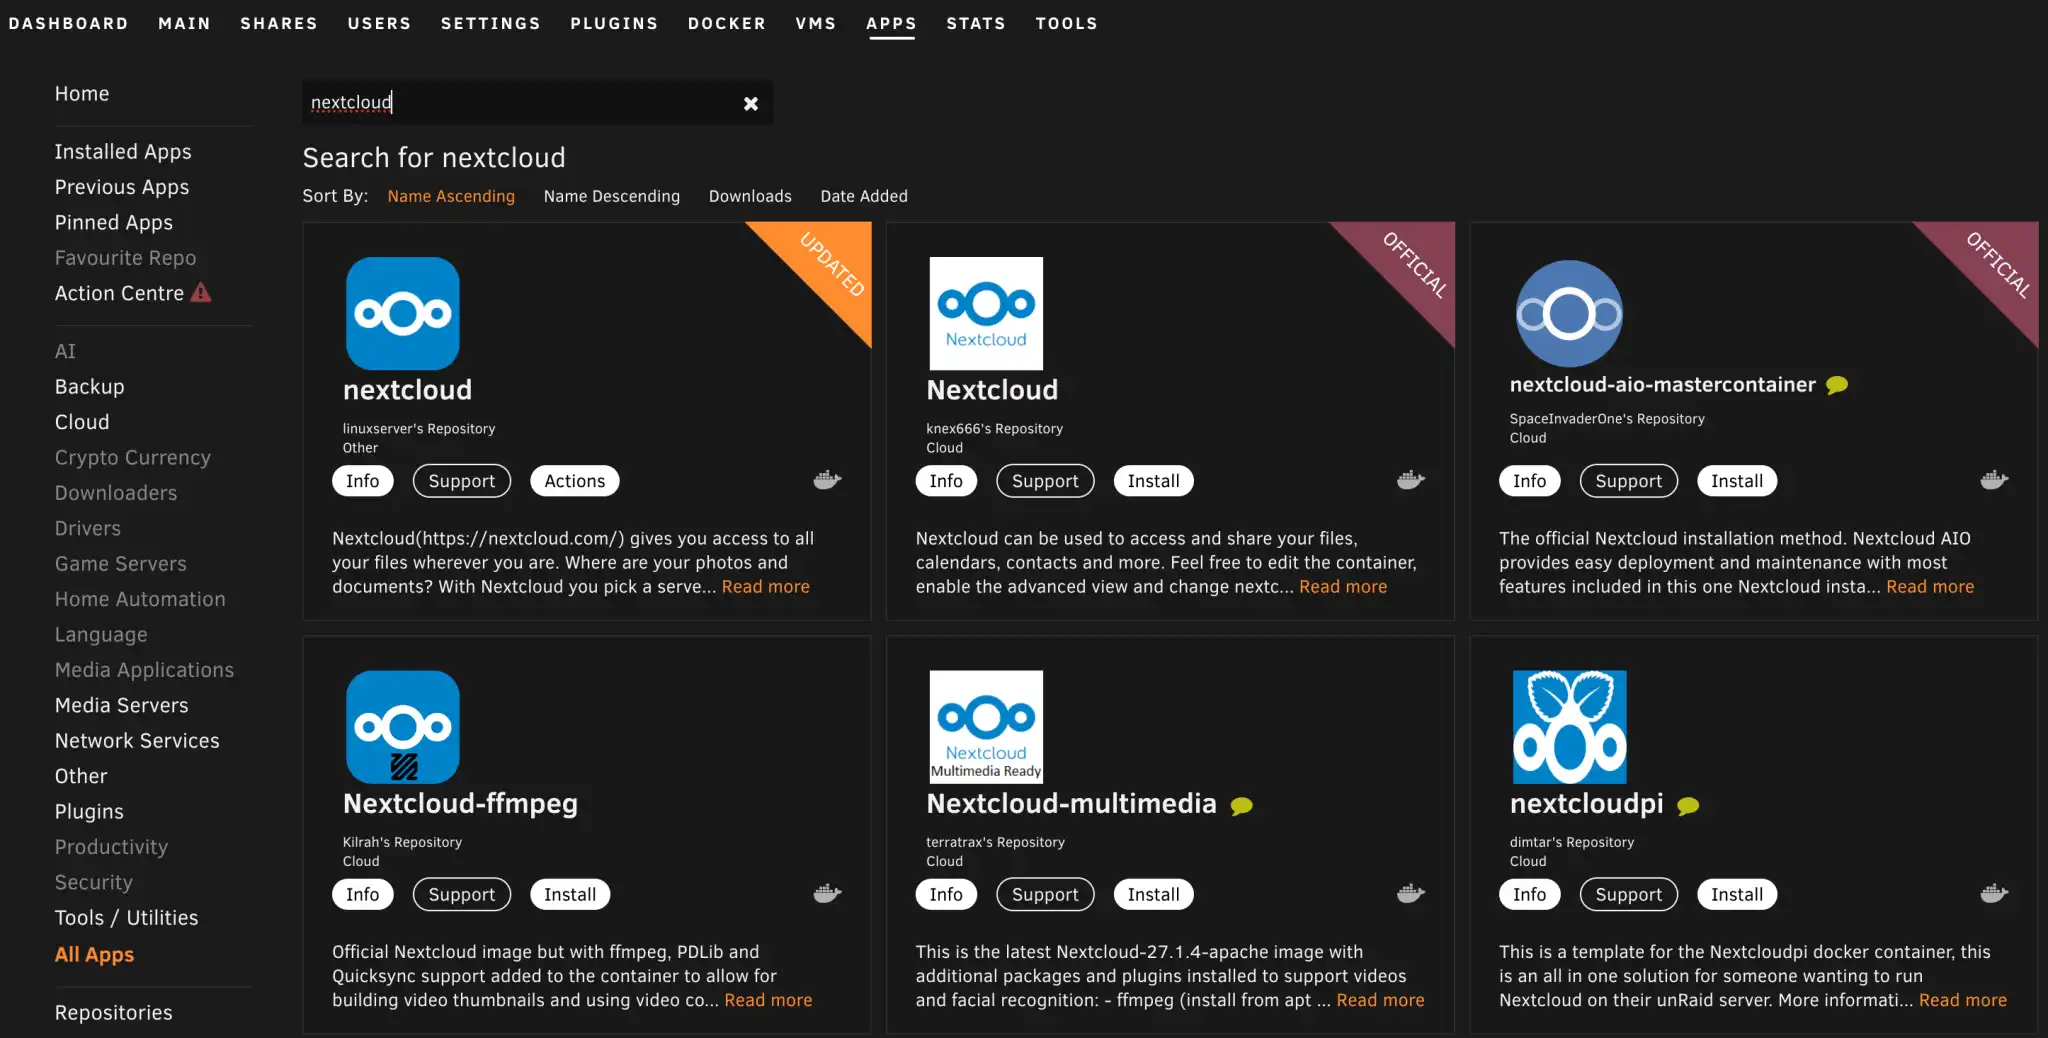
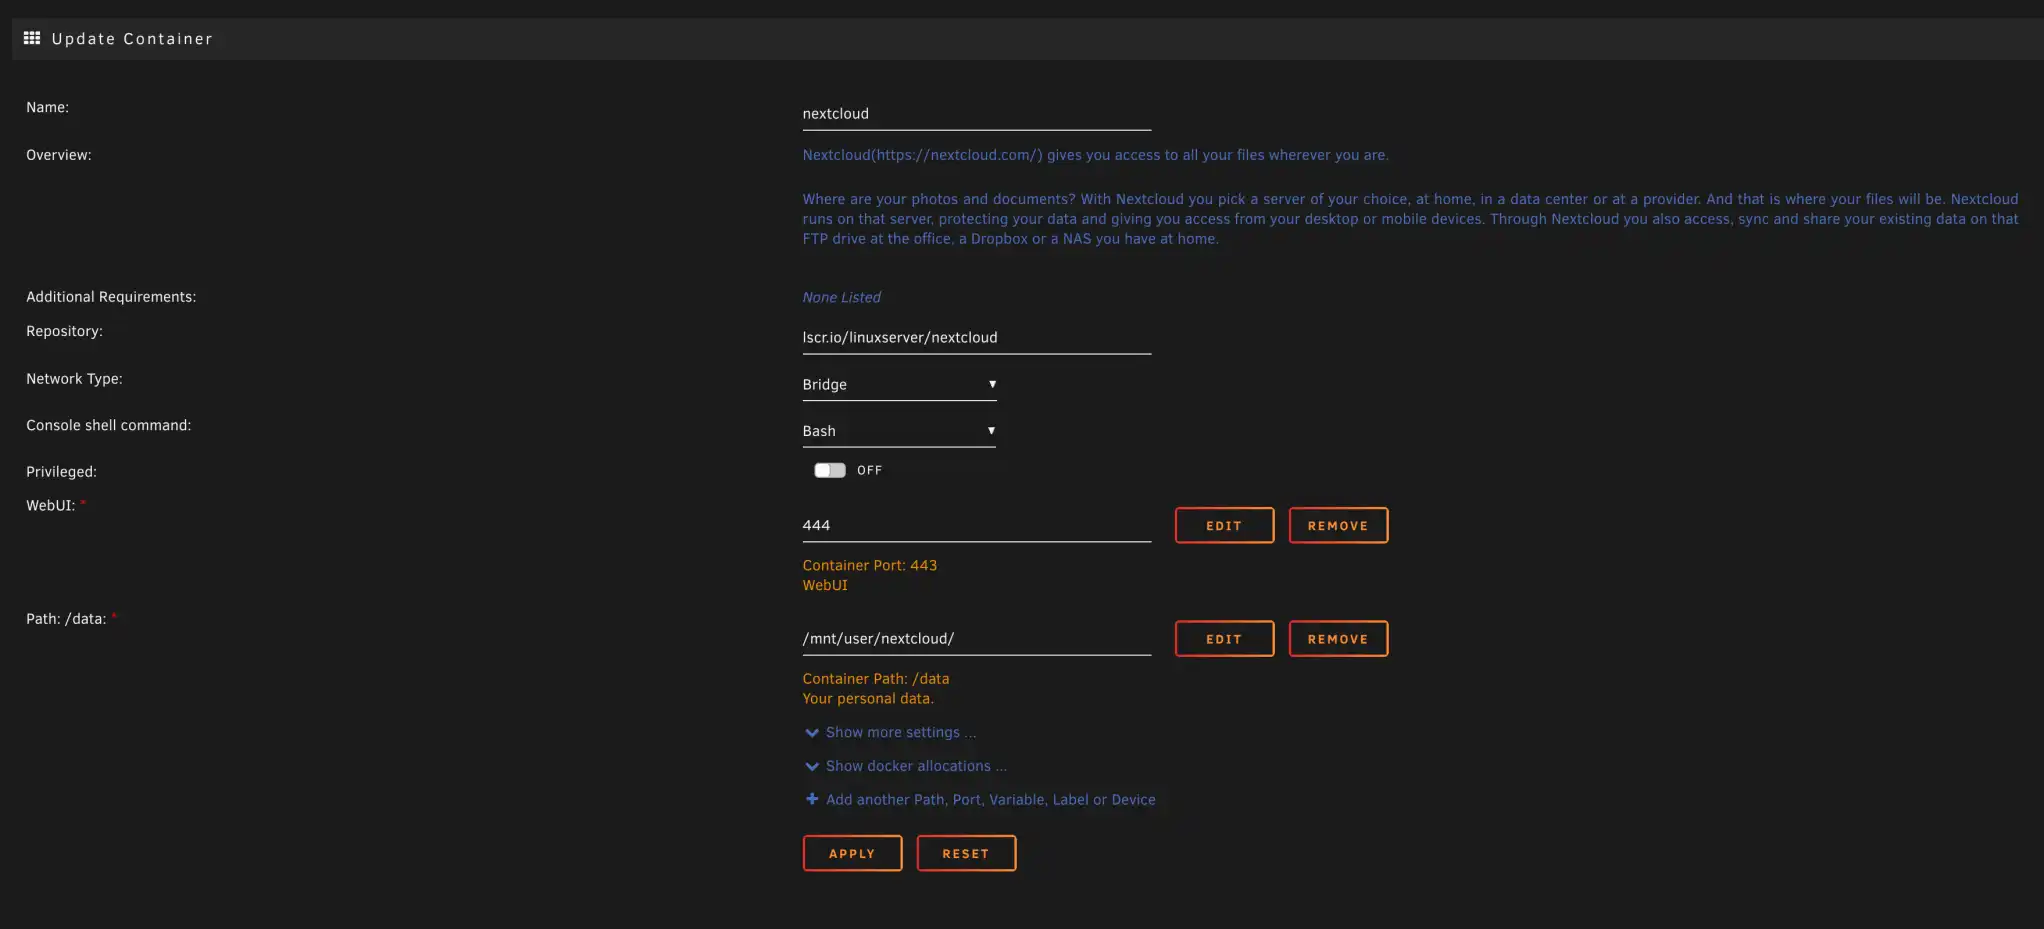
First things first, we need to get the Nextcloud container running.
Step 3: Connect Nextcloud to MariaDB
With the database ready, it’s time to link everything up:
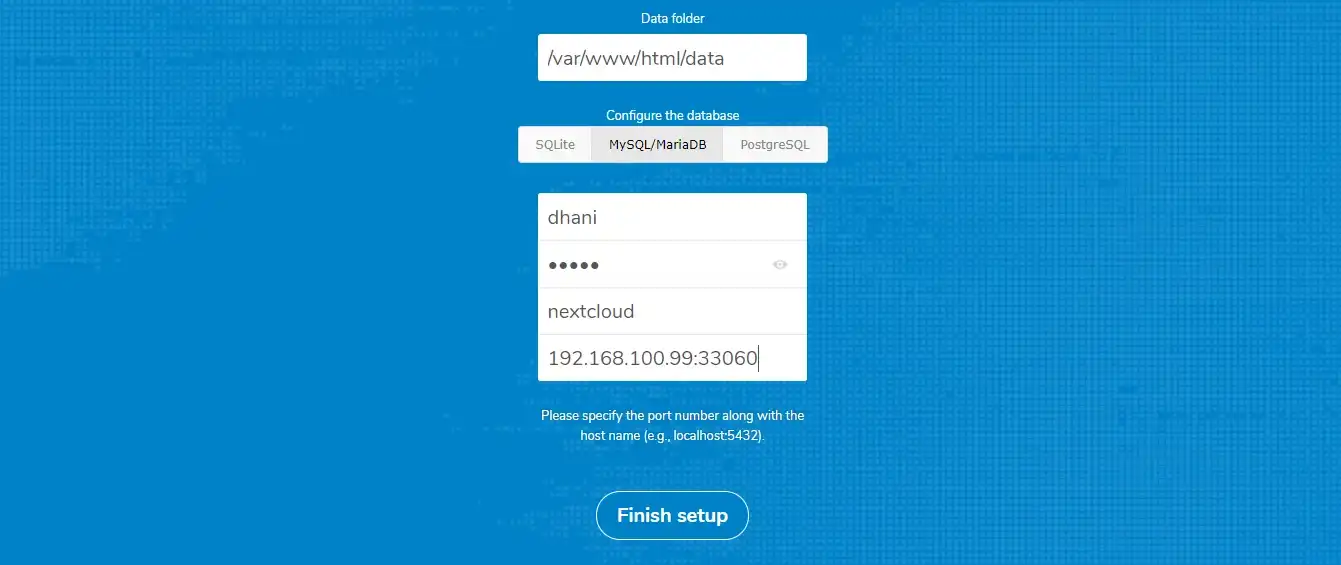
Open your browser and navigate to your Nextcloud instance. The address will look something like http://your-unraid-ip:nextcloud-port.
Fill out the setup screen:
Database user: root Password: (the one you definitely didn’t forget earlier)
Database name: nextcloud
Host: mariadb
Click Finish Setup and let Nextcloud do its thing.
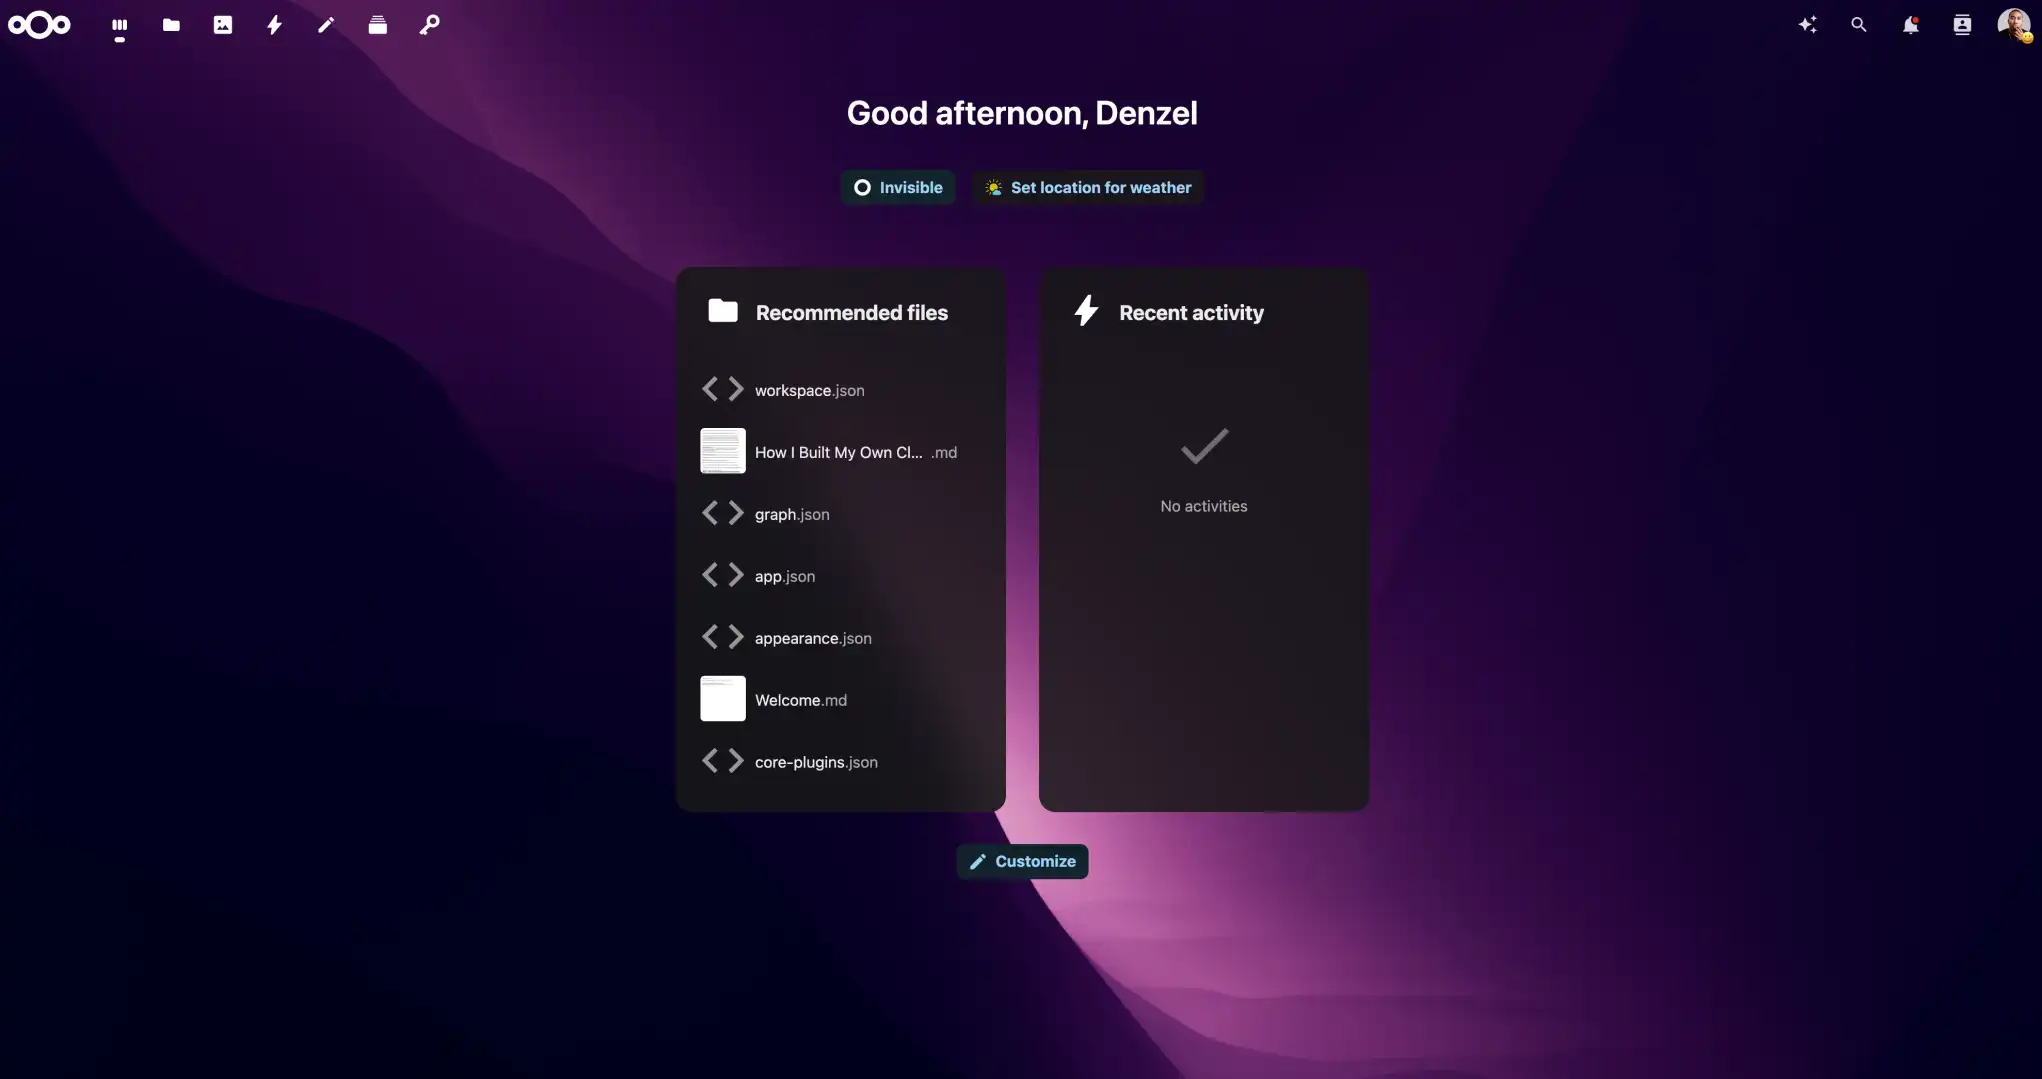
Congrats! Your Nextcloud instance is up and running.
By the time I finished setting up Nextcloud, I had two thoughts:
Why didn’t I do this sooner? I might actually enjoy having full control over my files.
Self-hosting isn’t just about saving money (though that’s a nice perk).
It’s about taking control of your digital life. It’s about learning something new. And yes, it’s about impressing your friends when you casually drop phrases like “containerized app deployment” into conversation.
What’s Next?
Have you tried setting up Nextcloud on Unraid?Did you run into any hiccups? Share your tips (or horror stories) in the comments—I’d love to hear them!